
How To Install Rocky Linux

Rocky Linux is a new Linux version of Linux/Unix distribution family that is intended to be a downstream, its complete binary-compatible release using the Red Hat Enterprise Linux (RHEL) source code. The project's aim is to provide a community-supported for users and production-grade enterprise operating system. The first release version of Rocky Linux was released on April 30, 2021, and Rocky Linux Initial release for general availability version was released on June 21, 2021.
Red Hat announced On December 8, 2020, that they would discontinue development of CentOS operating system, which had been a production-ready downstream version of Red Hat Enterprise Linux, in favor of a newer upstream development variant of that operating system known as "CentOS Stream". The project is sponsored by Amazon Web Services and Google Cloud among others.
Minimum Hardware Requirements for Rocky Linux
2 GB RAM or more.
20 GB hard disk or more.
2 CPU / vCPUs (1.1 GHz processor)
Internet Connection (optional)
Bootable media (USB / DVD)
Download the ISO file of Rocky Linux
Rocky Linux installation Step by Step.
1. Reboot the system and go to it’s bios settings and change the boot settings USB / DVD and USB bootable device.
2. Once the system boots up with bootable media of Rocky Linux Select Install Rocky Linux 8.

3. Select the language in that language you want to install and click on ‘continue’.

4. After selected the language settings you get Installation Summary.

5. First click on Keyboard and choose the preferred keyboard layout and then click on ‘Done’

6. Click on Installation Destination and choose how to you want configure partitions. there are two options 1. Automatic – Using this option, installer will automatically create partitions on the disk 2.Custom – Using this option, you will get to create own custom partitions. Here I am selected Automatic option and click on Done.

7. Click on Time and Date for configure Time and Date. Choose your the time zone and click on Done.

8. If you want to configure network then click on ‘Network and Host Name’ icon. you can also set the Hostname of Rocky Linux from here.
9. Click on Software Selection and select Server With GUI if you want GUI install. you can also select from here what you want to install additional Software. Here I am selected Server with GUI. After completed the selection of software click on Done.

10. Now set the password of Root User clicking on Root password. After password set completed click on Done.

11. If you need to create an another User click on User Creation. Check the box of Make The user administrator if you want this user a administrator. check the box of Require a password to use the account if you need to set password. Now click on Done.

12. Click on ‘Begin Installation’ icon for start the installation.

13. After click on begin installation has been started and is in progress.

14. Once the Installation is successfully completed. Click on Reboot System.

15. After reboot the system accept the license agreement.

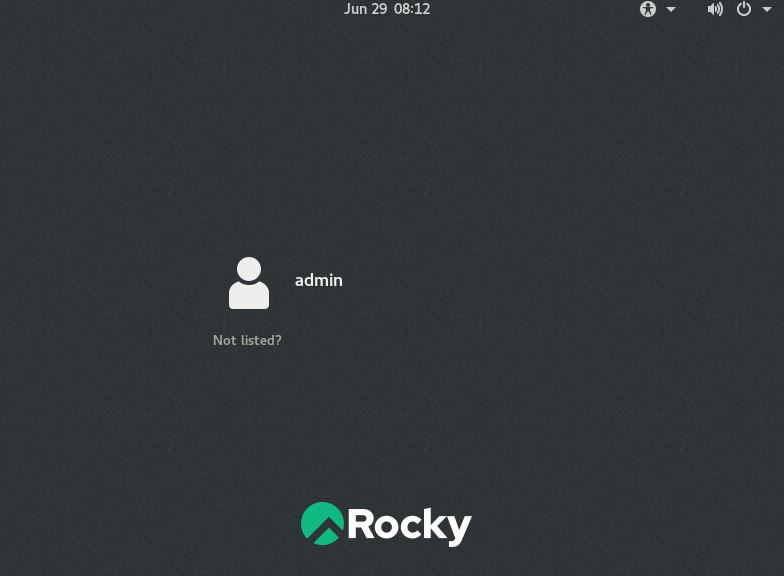
16. Now login with username & Password.


0 Comments